
There are different ways to use the Insert Row Shortcut in Excel to add a blank row above the selected row and speed up your work.
If you frequently work with large Excel datasets, learning to insert new rows quickly can save you a significant amount of time. Whether you want to add a single row or multiple rows, Excel provides easy-to-use keyboard shortcuts for Windows and Mac that can help speed up your workflow.
Here are the shortcuts for Windows and Mac:
Steps to insert a new row using the keyboard shortcut
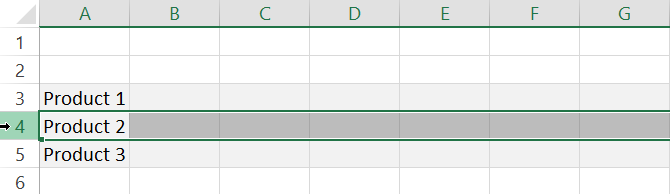
- Click the row number to select a row
- Hold the Ctrl and Shift keys, then press the + (plus) sign. (Windows)
- Hold the ⌘ and Shift keys, then press the + (plus) sign. (Mac)
The fastest way to insert a new row is by using a keyboard shortcut. This method allows you to add a blank row above the currently selected row or rows without using your mouse.
If you need to insert multiple rows, you can save even more time by selecting the same number of rows you want to add before using the shortcut. For example, if you want to insert three rows, select three existing rows first, then apply the shortcut. Excel will insert three new rows above your selection.
Insert a new row without a shortcut
Step 1. Select the row number
Step 2. Right-click on the row to open the context menu
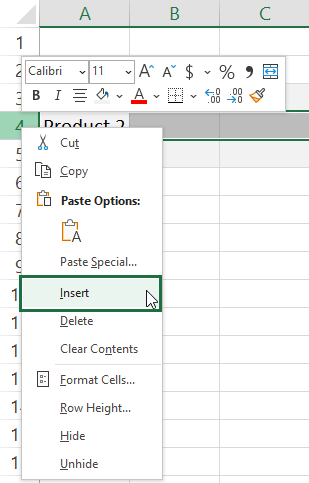
Step 3. Click the ‘Insert’ command. Excel will add a new row above the selected row.
Tip: If you want to add multiple rows simultaneously, select multiple rows and repeat the steps above.
Recommended articles
- Excel Merge Cells Shortcut: Learn how to quickly merge cells in Excel without using your mouse.
- Format Painter Shortcut: Speed up formatting tasks with the Format Painter shortcut.