Discover how to align and group shapes in Excel! Learn how to use the ‘bring the front’ and the ‘send to back’ functions.
Now that we have explained the role of the mockups in the dashboard design, it is time to talk about the realization. We should know about the mockups they’ve grouped vector objects, namely grouped shapes.
We can create all kinds of UI components! The limit is set only by your imagination. In other words, in this chapter, we’ll show you how to make complex shape-based layouts that allow diverse usage.
How to Align Shapes?
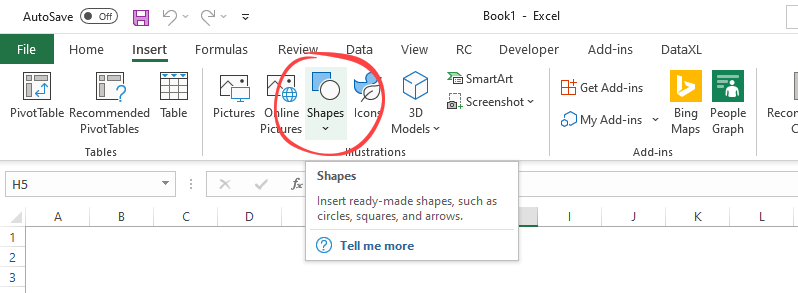
Step 1: Insert a shape
Go to Insert Tab and select Shapes from the drop-down menu. Click on your favorite object. How to format the shape? Select the shape and use the Format menu to customize your object.
Step 2: Align Shapes
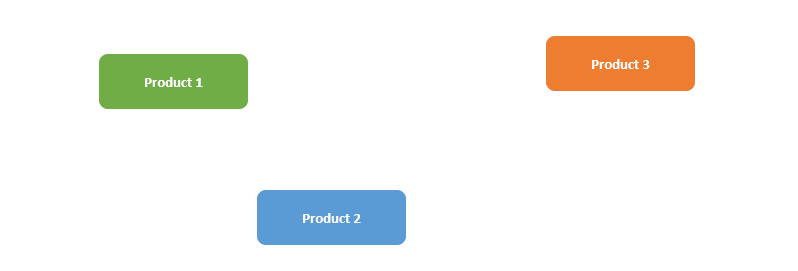
You want to organize the shapes, but it seems a little bit hard task to move them one by one! What should we do? A nice built-in feature allows us to distribute and align shapes in a few clicks.
Check the initial structure below:
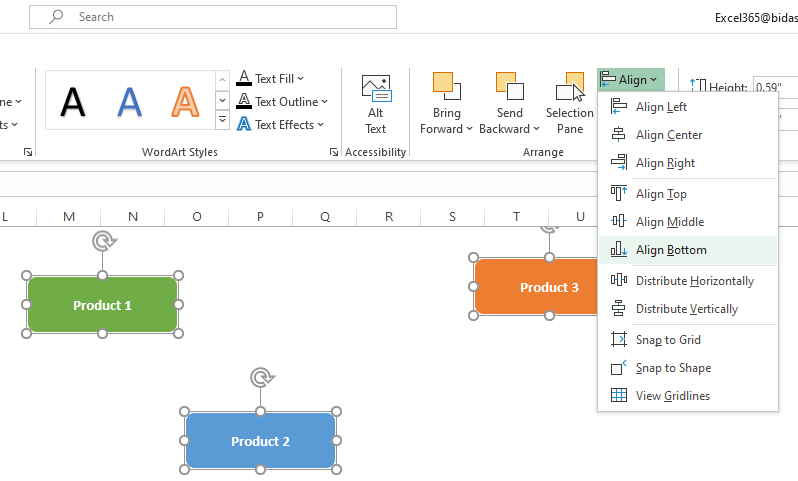
Hold the Control button and select the menu elements. Now Go to the Format tab and choose the following path: Arrange, Align, then Align Bottom. We’ll be able to align the shapes in the right direction.
After the procedure, you’ll get the result below:

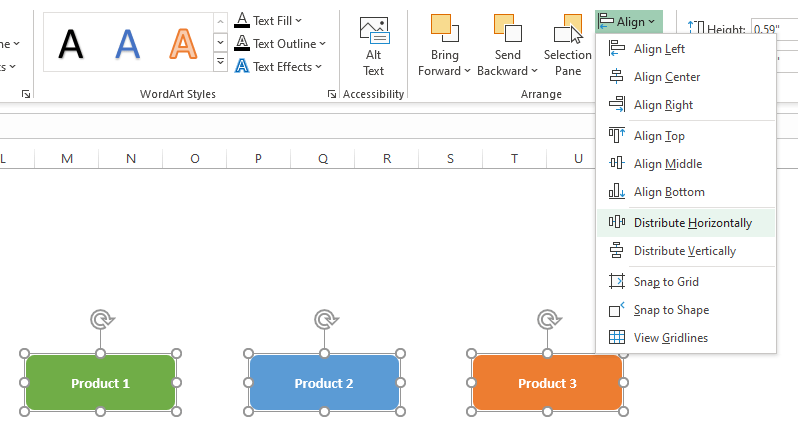
Choose the Format Tab again. Select the Align and choose to Distribute Horizontally command from the drop-down list.
In this example, we’ll distribute the shapes Horizontally. It’s a smart feature because this command provides the distance between the objects that are equally distributed.
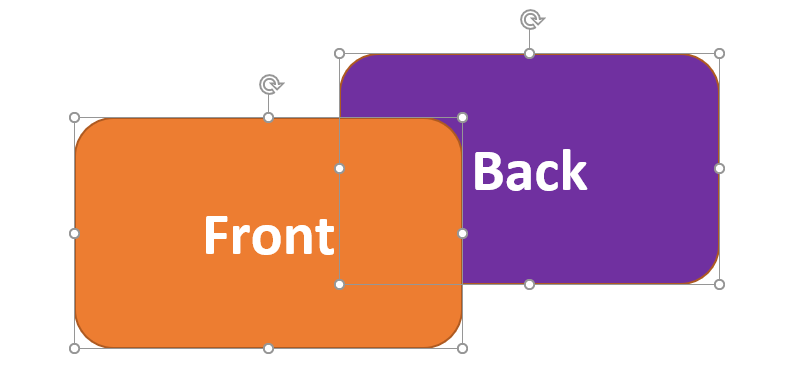
Step 3: Send objects to the front or back
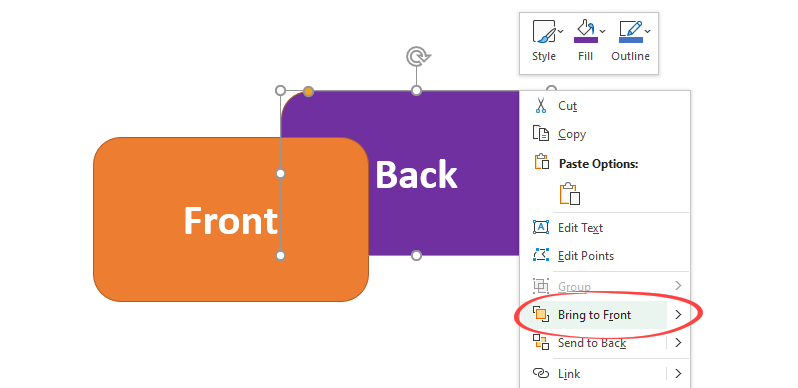
Each vector object is drawn on its own unique layer. You can move it on the top or bottom of other shapes. In this example, we want an object to be over another shape.
First, select the shape. After that, use the Format tab of the ribbon. Finally, right-click and click Bring to Front in the Arrange group.
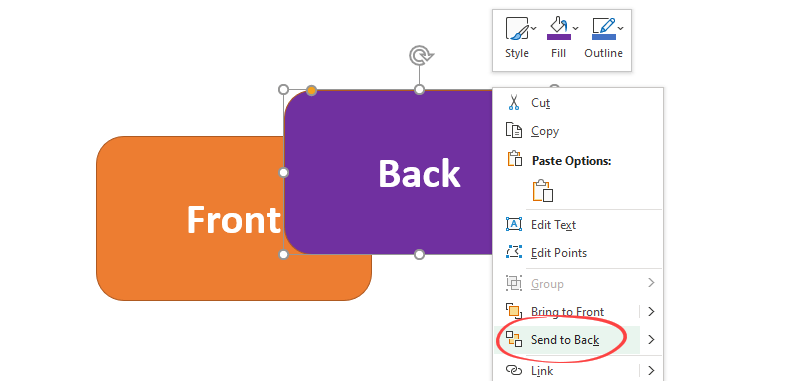
Instead of the ‘Bring to front’ command, you can use the ‘Send to Back’ tools to make the proper arrangement.
The transformation is complete.
Step 4: Group or Ungroup shapes
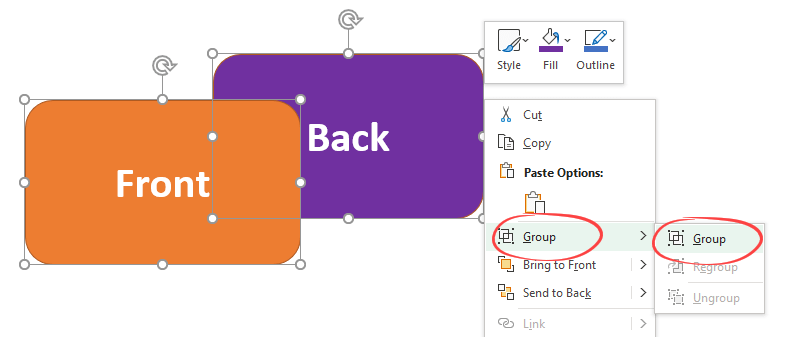
Hold the Ctrl button and select all shapes. Right-click, then choose Group.
From now, you can apply custom formatting styles for all objects.
If you want to ungroup shapes, select the merged object and choose the Ungroup command from the list.
Step 5: Create and save the final layout
Insert, modify, format, arrange, and group shapes to finalize your layout.
When it’s done, we recommend saving the wireframe into your reusable library.
Conclusion
In addition, don’t forget: Modifying a mockup is much easier than a finished spreadsheet! The utterly brave can use paper and pencil, but we prefer Office (Word, PowerPoint, or Excel).
Additional resources